| Previous | Table of Contents | Next |
A.2 Installing the PHP InterpreterInstalling the PHP interpreter on your own computer is a good idea if you don't have an account with a hosting provider, or you just want to experiment with PHP without exposing your programs to the entire Internet. If you're not using a hosting provider and want to install the PHP interpreter on your own computer, follow the instructions in this section. After you've installed the interpreter, you'll be able to run your own PHP programs. Installing the PHP interpreter is a matter of downloading some files and putting them in the right places on your computer. You must also configure your web server so that it knows about PHP. This section contains instructions on how to do this for computers running Windows, Linux, Unix, and OS X. If you get stuck, check out the installation FAQ at http://www.php.net/manual/faq.installation.
A.2.1 Installing on WindowsYou can install PHP after downloading it from the PHP web site, or you can download a third-party package that integrates PHP, Apache, and MySQL. Installing PHP is a good idea if you already have Apache or MySQL installed, or you want more control over your setup. The integrated packages are a convenient way to get everything up and running in one step. A.2.1.1 Installing PHPDownload the PHP installation package from http://www.php.net/downloads.php. There are two versions of the Windows download available: the installer download and the zip download. Use the installer download. It is an installation program that you run after downloading. This program copies the PHP interpreter program and supporting files to the right places and helps you configure your web server program to work with the PHP interpreter. The zip version contains the PHP interpreter and a number of PHP extensions but no installation program. If you use the zip version, then you must copy the PHP interpreter program and other files to the right places. The installer download is easier to deal with. Your web server should be installed before you run the PHP installer.
If you want to use
Apache,
follow the instructions in the later section Section A.4.1.1. However, Apache should not
be running when you install PHP. Bring up the Apache monitor by
double-clicking on the Apache Monitor icon in the System Tray, or go
to to Start Figure A-1. Stopping Apache with the Apache Monitor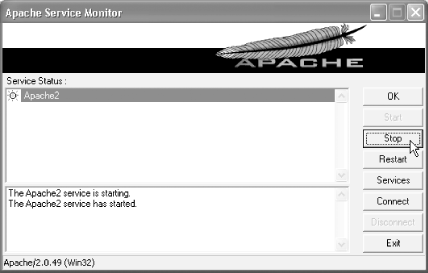 Figure A-2. Apache successfully stopped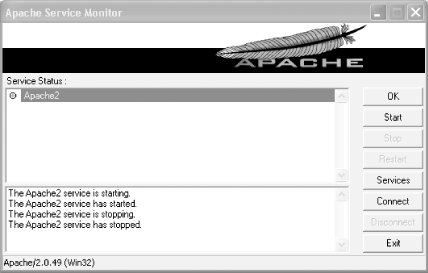 Follow these steps to install the PHP interpreter:
Figure A-3. Installing PHP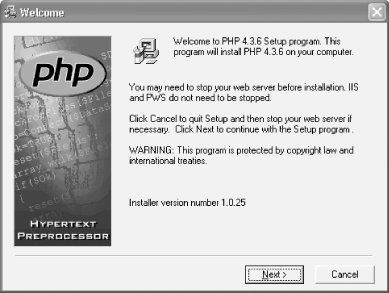 Figure A-4. Choosing standard PHP installation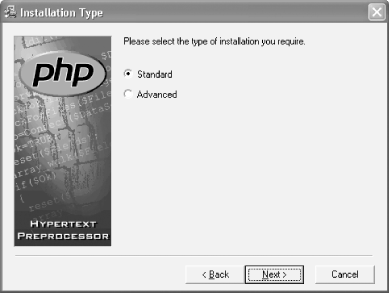 Figure A-5. Choosing the PHP installation folder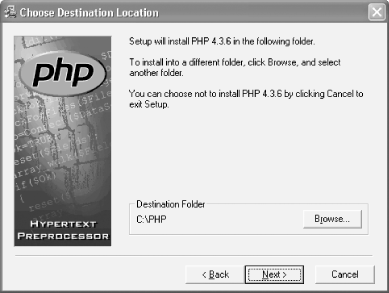 Figure A-6. Setting PHP mail configuration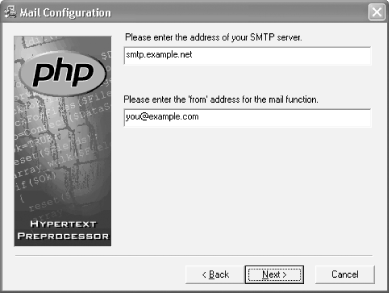 Figure A-7. Selecting your web server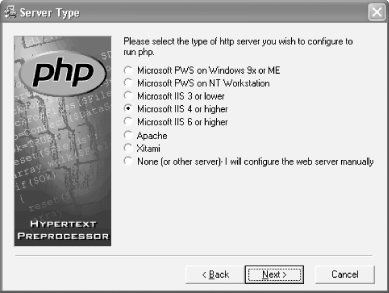 Figure A-8. Starting the PHP installation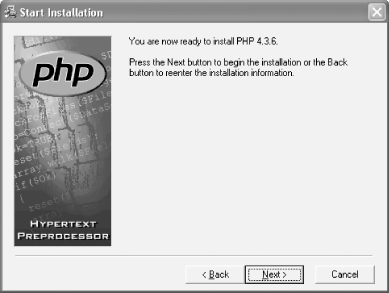 When you choose Apache as your web server in the PHP installation process, you get the disappointing message shown in Figure A-9. Figure A-9. Installing PHP with Apache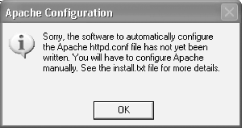 You must configure Apache yourself so that it can work with PHP. First, make sure you followed the Apache installation procedure in Section A.4.1.1. Then, add these lines to the very end of your Apache configuration file: Alias /fcgi-bin/ "c:/php/" FastCgiServer "c:/php/php.exe" -processes 5 AddType application/x-httpd-fastphp .php Action application/x-httpd-fastphp /fcgi-bin/php.exe Restart Apache from the Apache Monitor. Now, files whose names end with .php are handled by PHP. With the default Apache installation directory of C:\Program Files\Apache Group, the document root of your web site is C:\Program Files\Apache Group\Apache2\htdocs. So, the file C:\Program Files\Apache Group\Apache2\htdocs\test.php is accessible at the URL http://localhost/test.php. If you're using IIS, the PHP installer does the work for you. Make sure that IIS is running when you start the PHP installer. When the installer is completed, IIS is configured to pass URLs that end with .php to the PHP interpreter. The default document root for IIS is C:\Inetpub\wwwroot. So, the file C:\Inetpub\wwwroot\test.php is accessible at the URL http://localhost/test.php. A.2.1.2 EasyPHPThe EasyPHP package makes it a snap to set up your Windows machine with everything you need for web development. You just need to download a single file to install the PHP interpreter, the MySQL database program, the Apache web server, and the PHPMyAdmin database administration program. To use EasyPHP, download it from http://www.easyphp.org/telechargements.php3 and then follow the installation instructions at http://www.canowhoopass.com/guides/easyphp/. A.2.2 Installing on Linux and UnixMost Linux distributions come with PHP already installed or with binary PHP packages that you can install. For example, if you're using Fedora Linux (http://fedora.redhat.com/), install the php RPM and the RPMs whose names begin with php-. If you're using Debian Linux (http://www.debian.org/), install the packages whose names begin with php4- and libphp-. If those packages are out of date, you can build PHP yourself. From http://www.php.net/downloads.php, download the Complete Source Code .tar.gz package. From a shell prompt, uncompress and unpack the archive: gunzip php-5.0.0.tar.gz tar xvf php-5.0.0.tar This creates a directory, php-5.0.0, that contains the PHP interpreter source code. Read the file INSTALL at the top level of the source code directory for detailed installation instructions. There is also an overview of PHP installation on Linux and Unix at http://www.php.net/manual/install.unix. Instructions for installing PHP with Apache 1.3 are at http://www.php.net/manual/install.apache. Instructions for installing PHP with Apache 2.0 are at http://www.php.net/manual/install.apache2. A.2.3 Installing on OS XOS X 10.3.3 comes with PHP 4.3.2 installed. However, the PEAR libraries that come with the default OS X PHP installation are misconfigured. To install a complete, updated version of PHP on OS X, go to http://www.entropy.ch/software/macosx/php/ and download the latest installation package. This will be something like Entropy-PHP-4.3.6-3.dmg (the 4.3.6-3 part will change as PHP's version numbers change). The package should automatically mount as a disk image and then pop up in a Finder window. If not, double-click on the downloaded file to mount it. The contents of the disk image are shown in Figure A-10. Then, double-click on the .pkg file (e.g. php-4.3.6.pkg) to begin the installation procedure. Figure A-10. The PHP installation package mounted as a disk image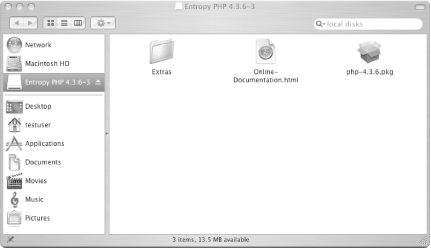 Follow these steps to install PHP:
Figure A-14. Completing the OS X installation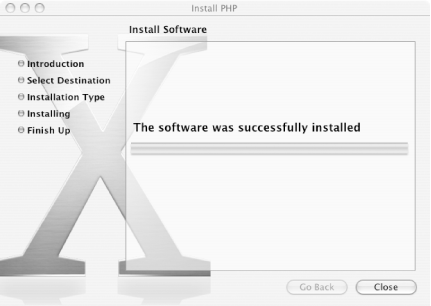 Make sure Personal Web Sharing is turned on as described in Section A.4.1.2. Any files you put in the Sites subdirectory of your home directory are accessible under the URL http://localhost/~username. For example, if your username is funes, and you save a PHP program called test.php in your Sites directory, then you can run that PHP program by visiting the URL http://localhost/~funes/test.php. |
| Previous | Table of Contents | Next |